Tuesday 29 December 2015

HGUC Byarlant Custom WIP #1

I don't actually own the P-Bandai Online Exclusive version of the HGUC Byarlant Custom, but I do quite like it's colour scheme, so I'm thinking of something very similar for my own.


What I have done so far is pretty basic, there were a good number of places where I felt I could remove some seam lines and have it look pretty much okay.


Beyond that I've got a bunch of parts that are pretty hollow looking so I'm going to be filling those in with putty in the very near future.


Tuesday 22 December 2015

Mass Production Valvrave "Zaku" WIP #3

This isn't exactly the biggest update ever.


For lack of a better term I have been grinding an axe, it is on of the 3D printed affairs I originally drew up for the Re-Nu that I built for the Gundam Eclipse Gunpla Builders Group Build.

Note-ably the hands were a bit undersized so I ground out the palm of both open fist to get the axe to fit a little better.


Anyway, it is a little a large for most 1/144s but I think that the Valvrave handles it well.


Friday 18 December 2015

Mass Production Valvrave "Zaku" WIP #2

I was really making an attempt to patch those shoulders today they are a real pain in the butt and after all of that effort trying to get those seams removed.

I'm never doing it that way again. [Insert Facepalm].

Anyway after a considerable bit of cursing, I've got them reassembled and glued up.


Given that I did a great deal of sanding and then touched them up, with the same colour, they look pretty damned awful. I foresee a great deal more sanding and painting in my future to get these fixed.


I figured a touch of paint wouldn't be out of place on the gauntlet area, kind of looks nice against the pastel green, but you won't actually be able to see it under the clear parts, that I think I'm going to paint up in the darker green colour I've used for the kit. It would just look better that way.


Still working on it, don't worry about those pink bits too much I need to do something else with them anyway. The shoulders look like crap so I've gotta do something with those again too.

Thursday 17 December 2015

Mass Production Valvrave "Zaku" WIP #1

Been trying to get it back in gear again, seeing as the year is almost to an end, and I've been a complete bum for an extended period.

So I have been working on learning how to air brush a bit and there is nothing better to practice on than impulse buys. I have to stop shopping directly after watching an anime, those toy adverts get me every time.

Anyway about the time around when Iron Blooded Orphans promo stuff started coming out, remember all that speculation about how the promo outline kind of looked like Valvrave the Liberator. When the anime finally started coming out there were some real similarities in the styles of the mecha in both anime, and the Graze was so close in basic shape that it got me thinking.

What would a mass production Valvrave look like; none of those silly loopy things and maybe a command antenna wouldn't be out of place.

I started by removing some seam lines, the dual coloured panels while kind of neat to look at weren't really a good fit for my idea of what this should be.


I sealed up the seam lines on the shoulders just for good measure and have come to regret it just now when I assembled them after paint and they broke.


Here's the aforementioned command antenna.


I tried to smooth at a lot of the line leaving only the most basic shapes, I thought it would give it a slightly more "mass production" feel to it.


Progress as it stands now, sans shoulder because I'm still repairing those. [Insert Facepalm].
I think overall it could still use a lot of touch ups, but I'm honestly pretty pleased with what I've done so far.

Tuesday 30 June 2015

Completed Kits #13: MG Re-Nu Gundam

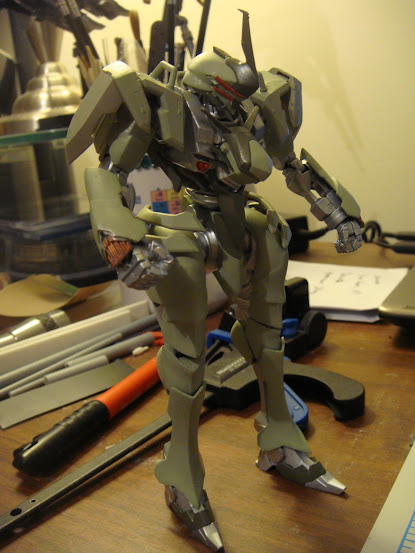
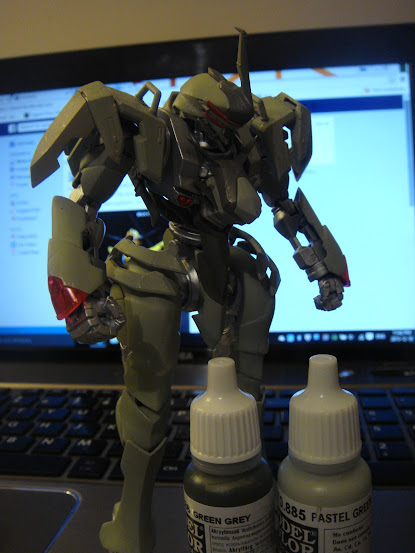
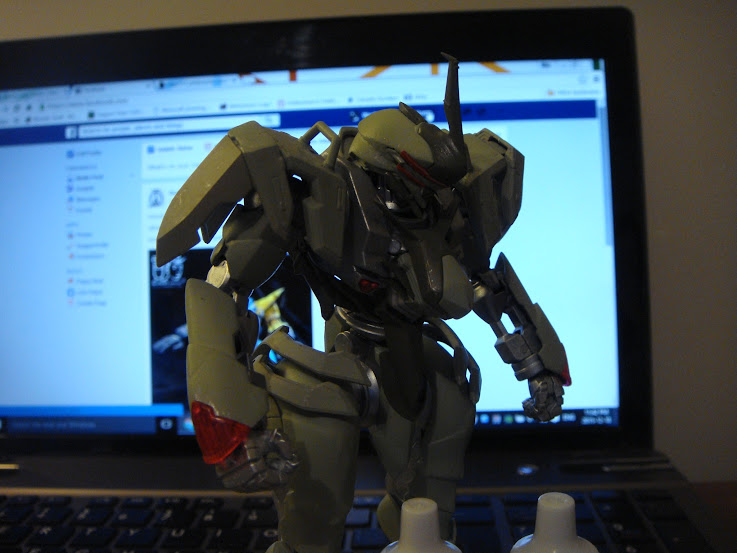
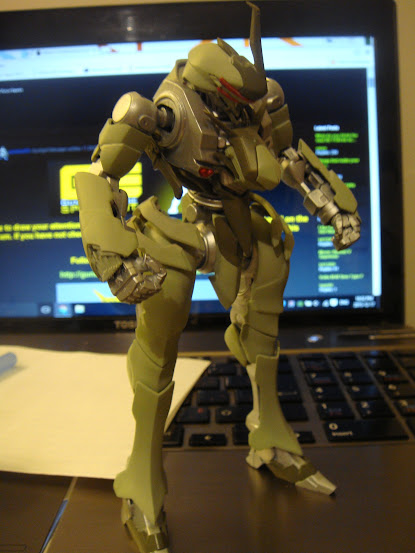
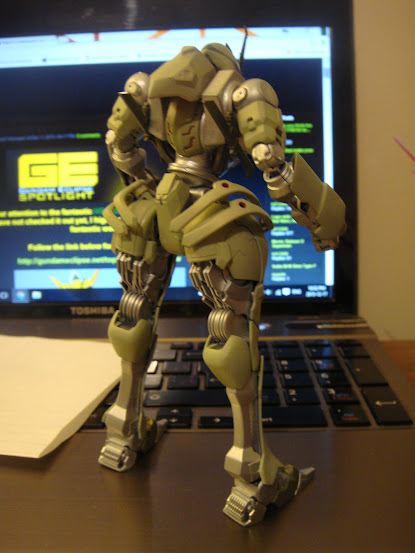
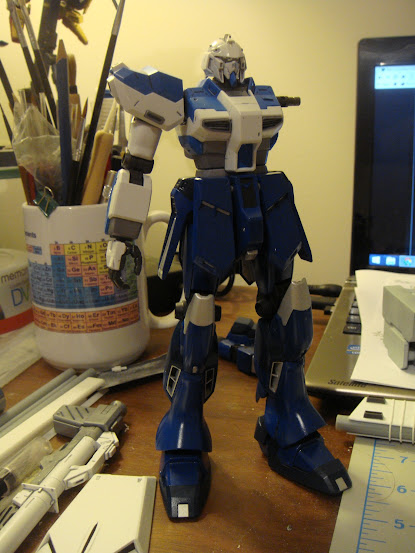
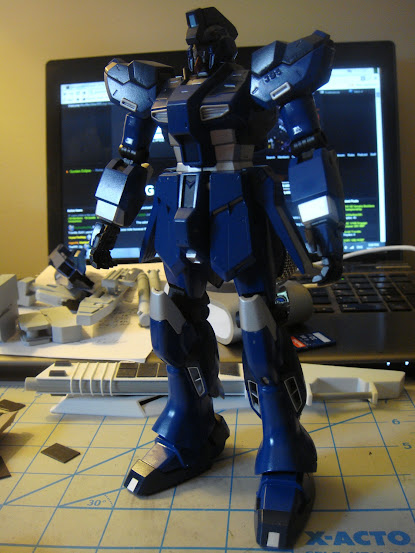
Re-Nu Gundam (Refined Nu Gundam)


Type:
The Refined Nu Gundam is specifically designed for use in Space and in atmosphere, with very limited operational capabilities in water. Re-Nu specializes in high speed battle at Short-to-Mid Range.


Internal Weaponry:
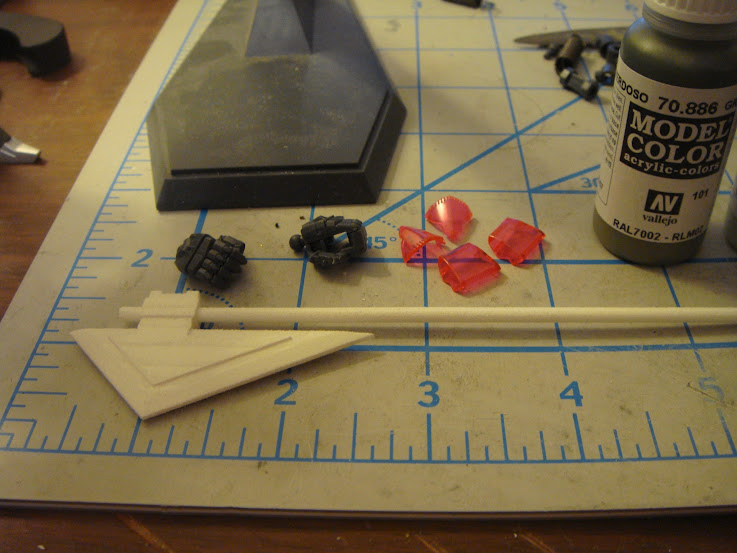
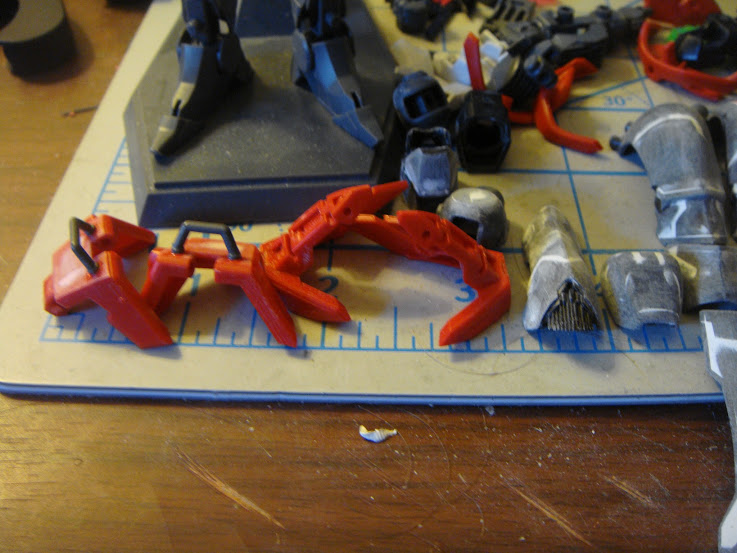
  • Beam Sabre (stored in left arm)
  • Machine Gun (mounted, right arm)
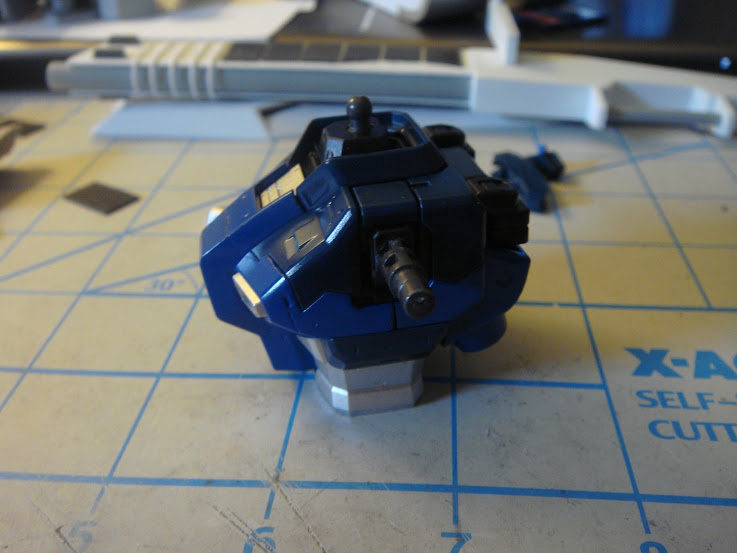
  • 60mm Vulcan Guns X2 (mounted, head)
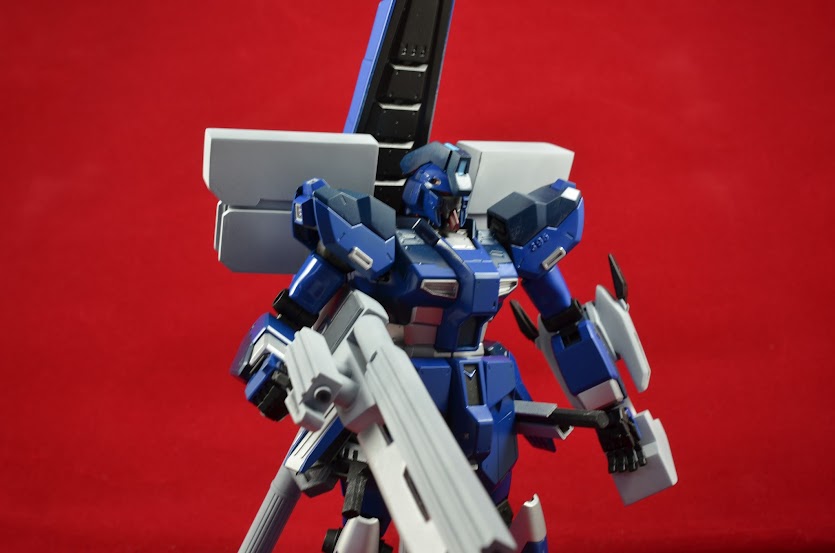
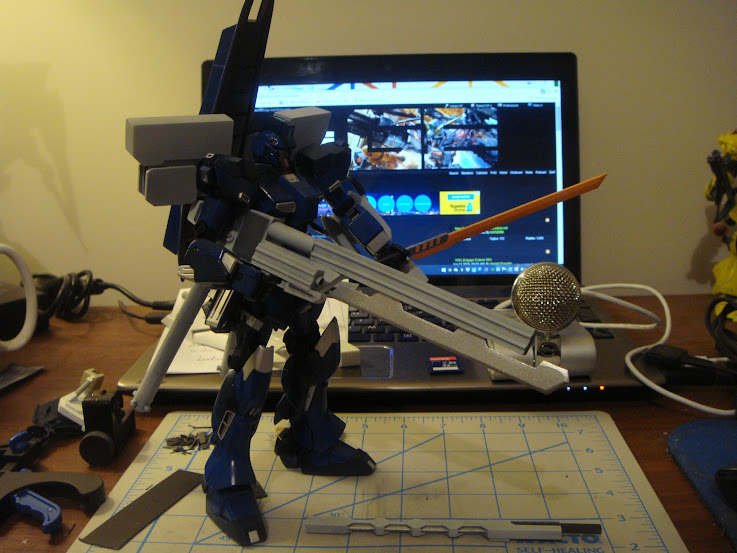
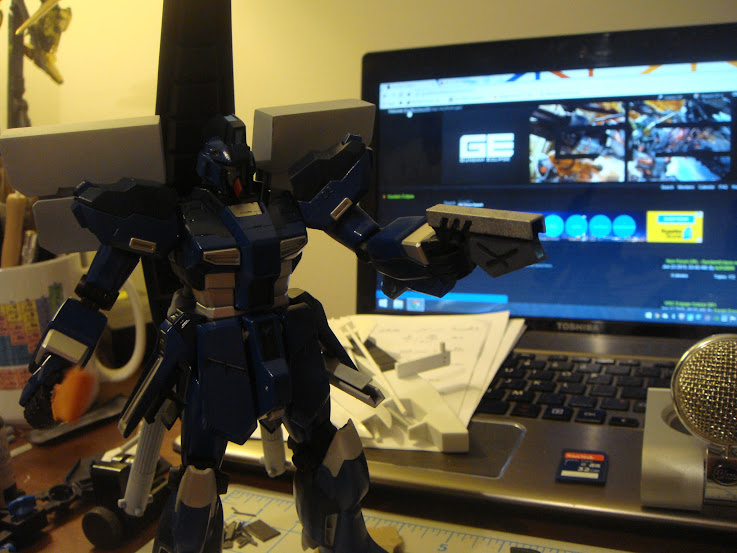
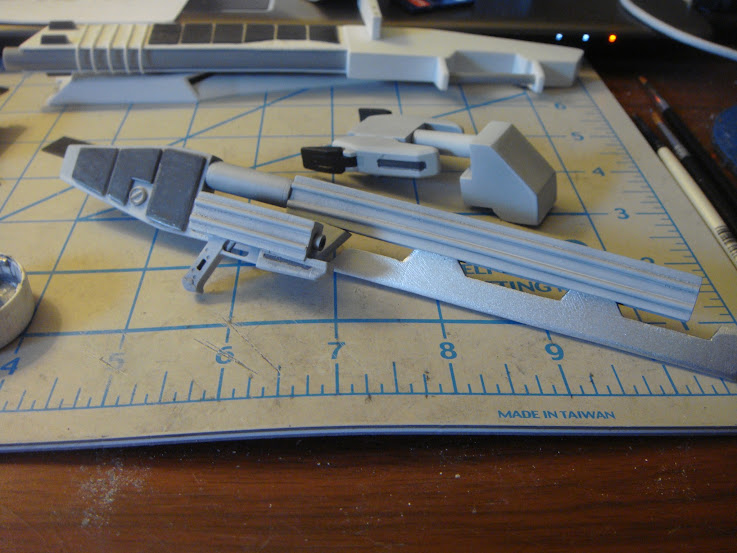

Main Weaponry:
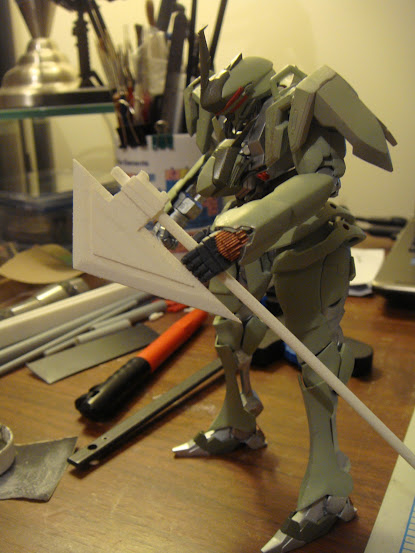
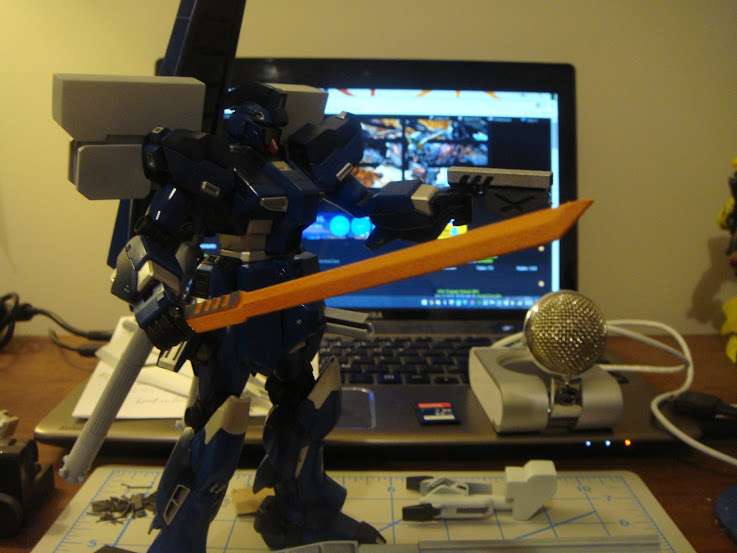
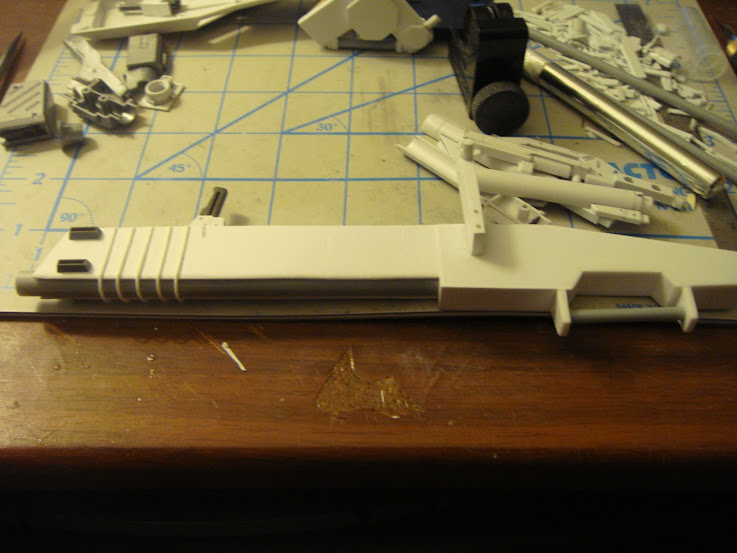
  • Variable Mega Rifle Mk II, high output precision long rifle includes an underslung HEAT sword
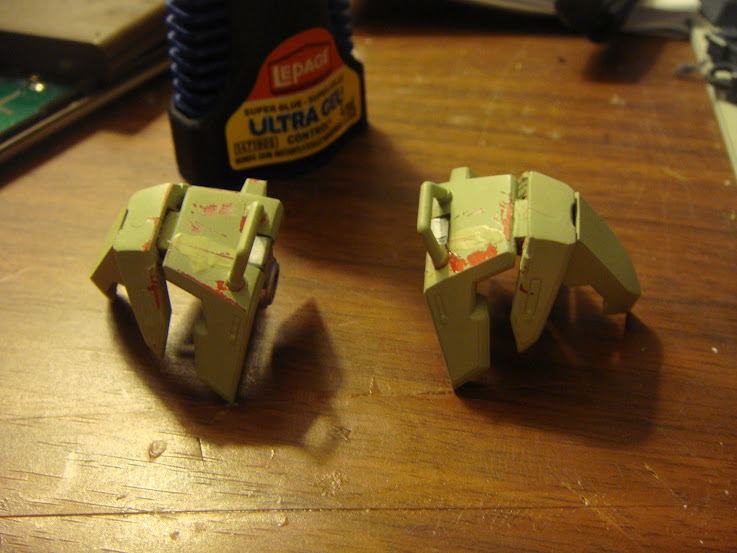
  •  HEAT Knuckle Mk II, combination I-field and solid shield converts kinetic energy into heat
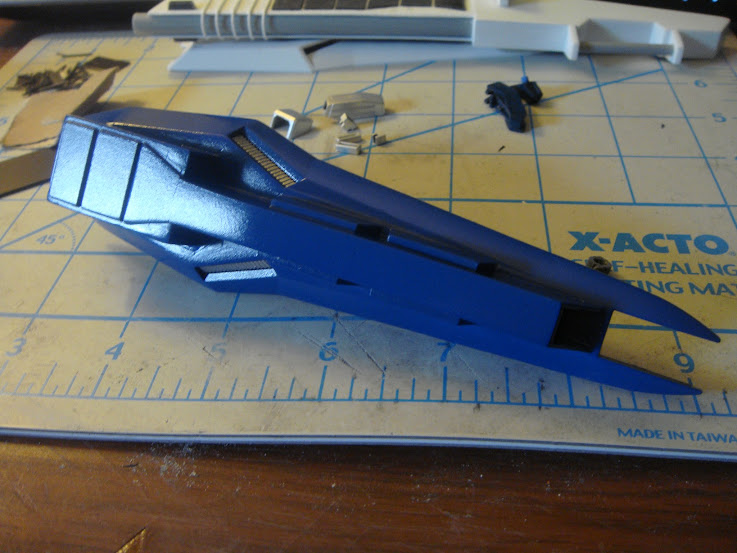
  •  Shield Booster, combination booster, solid shield and beam shield principally for reducing drag


Optional Weaponry:
  •  Beam Pistol
  • HEAT Long Sword Type B


Incomplete Weaponry:
  • Land Package, removes Super Scram engines and fuel tanks reducing mobility and range
    • Variable Mega Cannon made from scrapped Variable Mega Rifle
    • Solid Shield, conceals standard rifle and grenade launcher
  • HEAT Battle Axe Type A
  • HEAT Battle Axe Type B


Strengths:
  • External Fuel Tanks, improved range and constant fuel supply
  • Super SCRAM Engines, extremely high speed and mobility
  • Variable Mega Rifle Mk II, variable output for better armour piercing
  • Enhanced Sensor Array
  • Gundanium Alloy, for added durability
  •  MG System


Weaknesses:
  • Very reduced operations in water
  •  Potential thermal runaway if the i-field is overused, requiring the HEAT Knuckle Mk II to be purged
  •  Loss of the shield booster reduces top speed to one tenth its full output
  •  Limited solid ammo


Backstory:

Time to start talking about its backstory, it's development codename was "Not-Nu" a Nu Gundam not for new-type use, I stripped the funnels and all of the associated psycommu nonsense after all I'm not a new-type how am I supposed to use any of that through my gunpla?

It seems as though funnels need to be controlled individually by the fighter so those seem more of distraction than of any help, so no funnels.

The idea for a shield booster came in a fit of inspiration from the Hi-Nu Vrabe and then from all things AoZ (for the good stuff). It is based loosely on Hazel II's Tri-Booster configuration, which allows the boosters to be moved quite freely. In addition to the purge-able single fixed Shield Booster and the moveable fuel pods.

For some reason I got bored with standard vernier setups and decided to venture into something a little more unique in appearance and functionality, I based these loosely on SCRAM jets with an open combustion chamber and no obvious vernier bells. However given that the SCRAM doesn’t work outside of the atmosphere or at speeds below Mach 2, so I’ve incorporated some other technologies to help things get along.

Basically the VASIMR works on the same principle as the large hadron collider and beam rifles. It ionizes a gas (adds or removes an electron) and then it uses magnetic coils to accelerate the ionized gas into a high energy state (plasma). The problem is that current science can't do this outside of a vacuum but evidently they have figured that one out by the 79th year of the Universal Century (likely they seal it within a mechanical vacuum). That said I doubt they would be super-efficient within the atmosphere.

What my "Super SCRAM" does is route the oxygen through the VASIMR first so it is accelerated to the required speed where it meets the fuel in the open chamber. In essence the VASIMR acts as the Super Charger bolted to a typical car motor feeding the air in and altering the compression ratios. With the forced air feed at a high energy state the "Super SCRAM" can operate in space like a conventional booster.

Now the Refined Nu Gundam is not all that aerodynamic which slows things down a lot, the shield booster includes not only a Super SCRAM and fuel but also a beam field emitter forward facing to give the Re-Nu the best possible aerodynamics and resistance to debris. With the beam field active the Re-Nu can achieve a cruising speed of Mach 10 and a theoretical top speed of Mach 15.

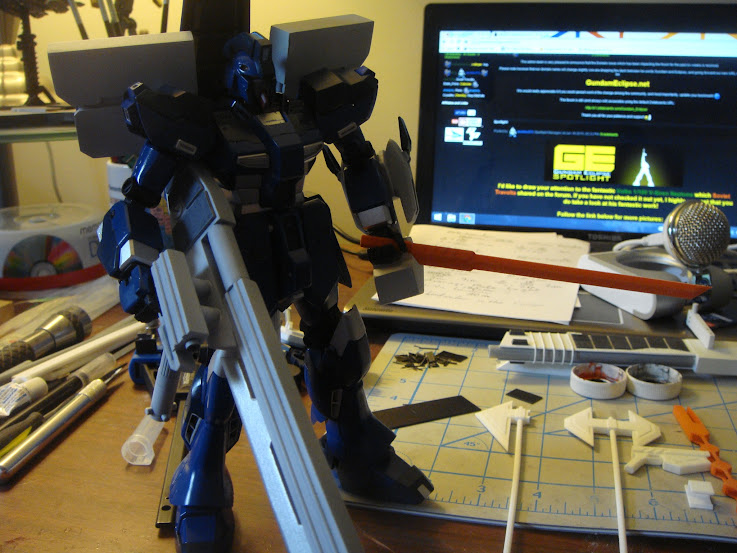
The first rifle I had built was great and all but it was so large that it was completely unwieldy, so to correct this issue I built a much smaller lighter rifle, the Variable Mega Rifle Mk II. The barrel is actually of the same length but the whole thing is a lot shorter it does this by moving the barrel further behind the trigger and into the stock, a bull-pup configuration.

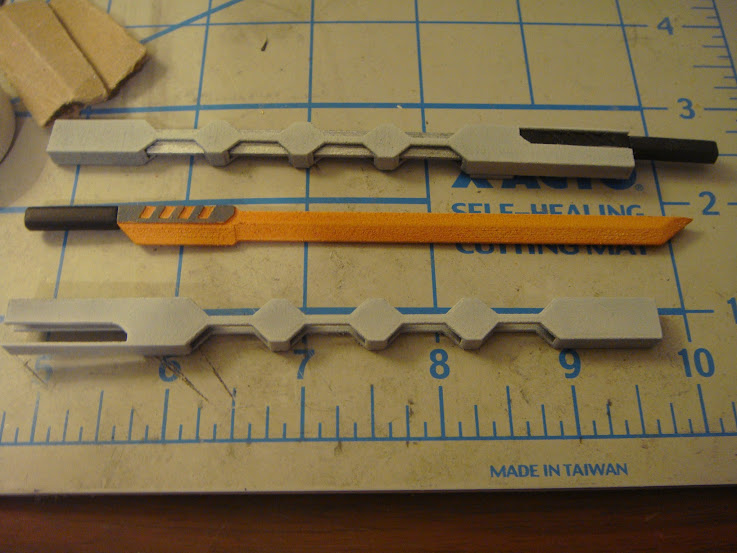
I spent a fair amount of time working around the shield mount to build something fairly unique a two part weapon system an I-field and an extreme close quarters HEAT weapon. In premise it prevents the I-field from overheating by using a rather extreme take on the heat pump to power the offensive Heat Knuckle. In striking another MS it can cause thermal runaway a situation where parts of the MS are likely to melt completely, cause reactor malfunction or battery combustion. Functionally it is quite a powerful tool but it has limitations, its output also makes it quite volatile, if it overheats the whole thing will need to be purged.

You can check out more of the MG Re-Nu Gundam in my Google + Album.

Monday 29 June 2015

Codename: MG Not-Nu WIP #15

Got my 3D printed parts, didn't really have the time to finish up the alternate parts. I'll have them done but they certainly will not be ready for the end of the GB tomorrow.

Given that everything else got wrapped up I'm pretty pleased, I've got a long sword and a beam pistol that became a part of the build.


Bit of paint, I decided earlier on to order two of the swords one to be painted in orange as a powered HEAT sword and the other in silver as cool version of the same sword. I'm pretty pleased with the models of both the swords and pistol though I did find I made a few errors with my measurements.


Everything is done! I had installed magnets under the side skirts much earlier in the build just for holstering the pistol and sheathing the sword.


Sunday 28 June 2015

Codename: MG Not-Nu WIP #14

I'm still working one those alternate armaments and the 3D printed parts should be coming tomorrow, so I should be able to get things all wrapped up for Tuesday at the latest, but I'm honestly hoping for things to be finished Monday night.


I had primed the shield booster and the sensor array previously but there were a few visible gaps that
I needed to fill and then sand, so I could paint it.


Things seem to have gotten painted part by part this time round.


Everything all together as it is currently.