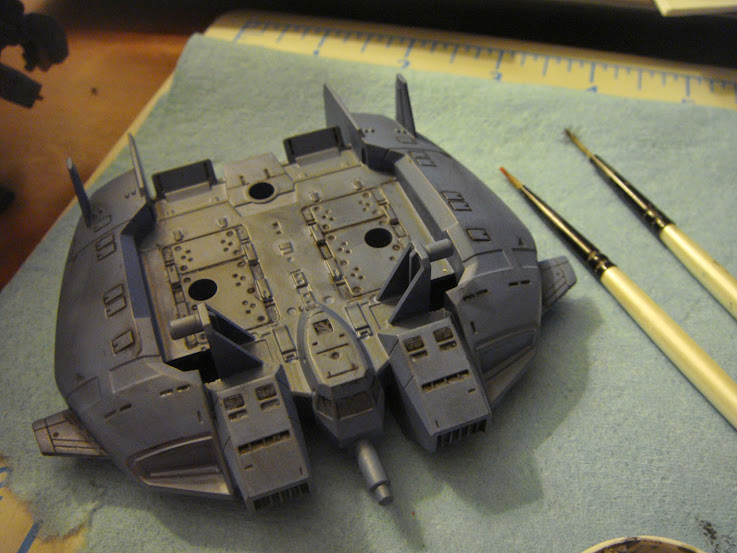
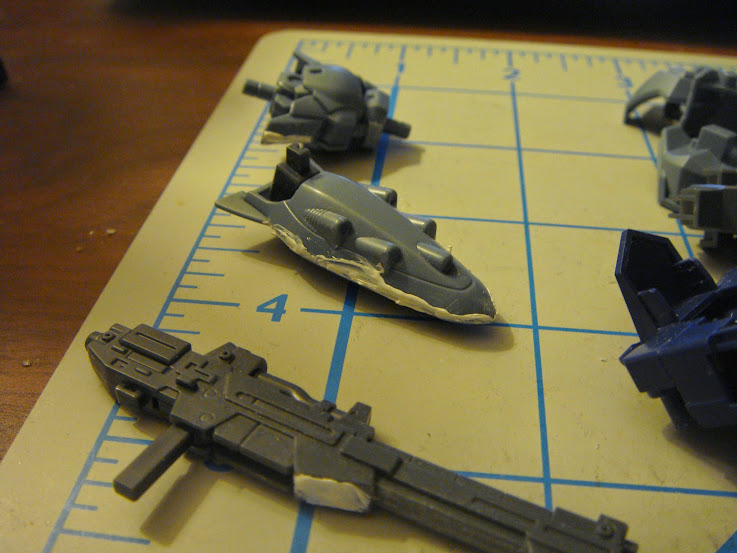
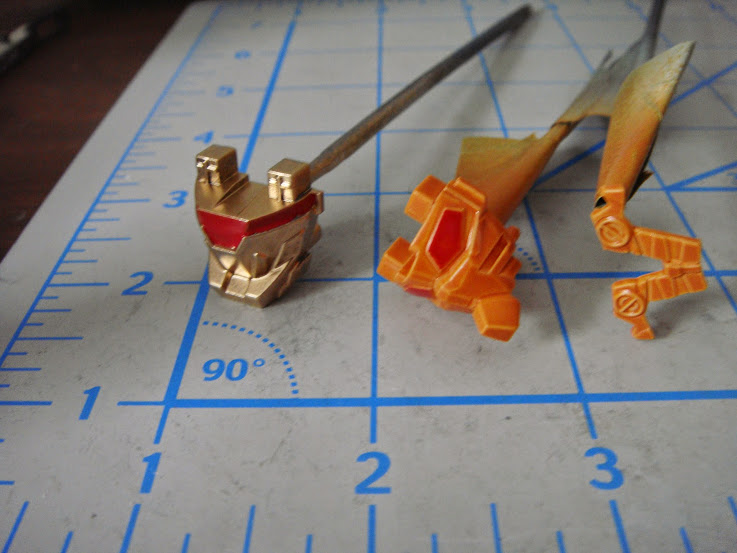
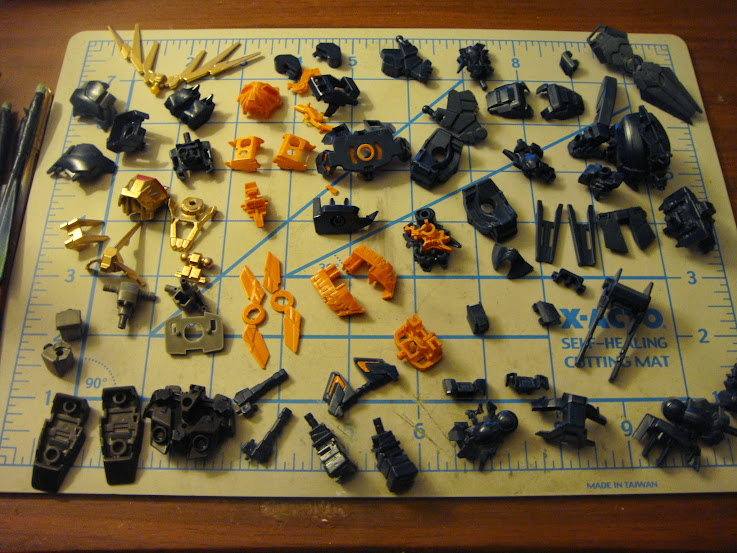
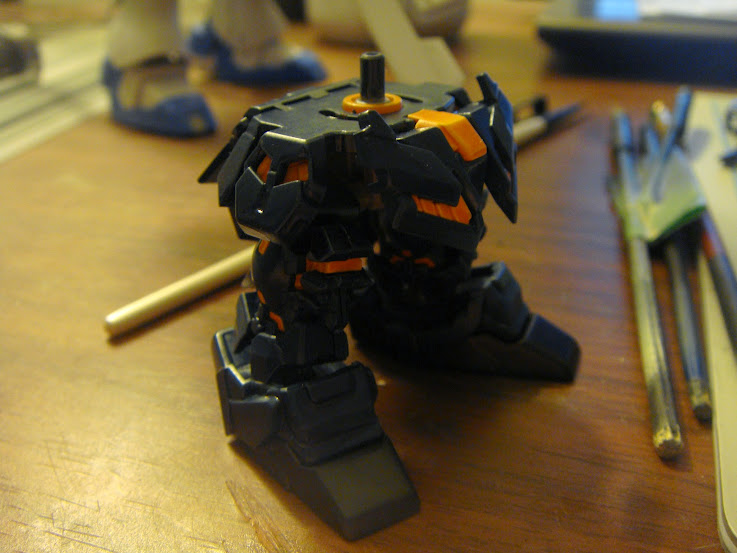
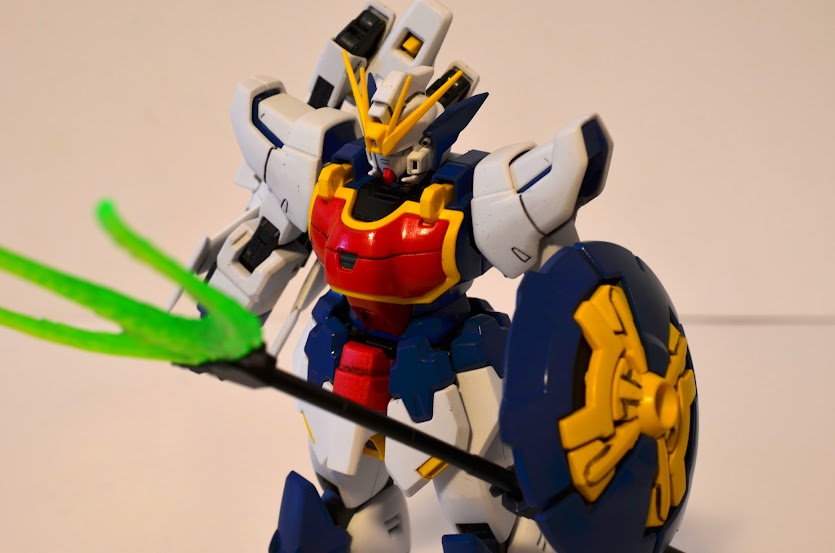
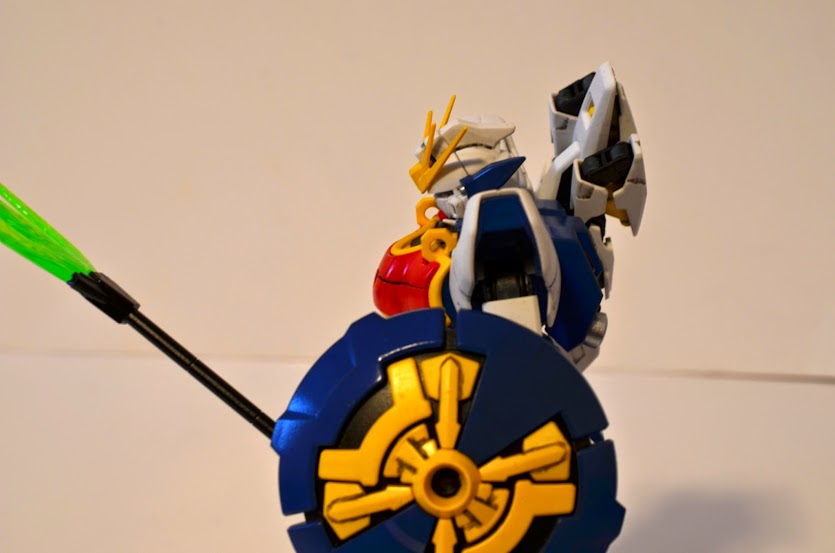
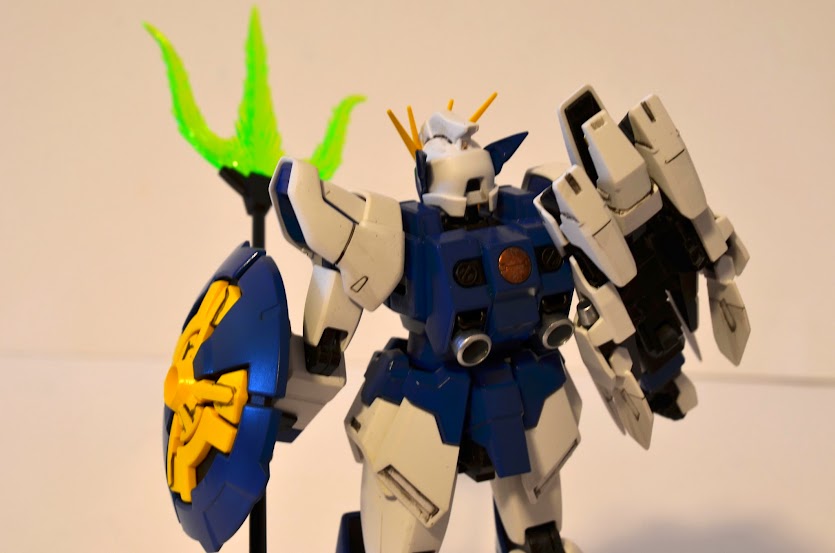
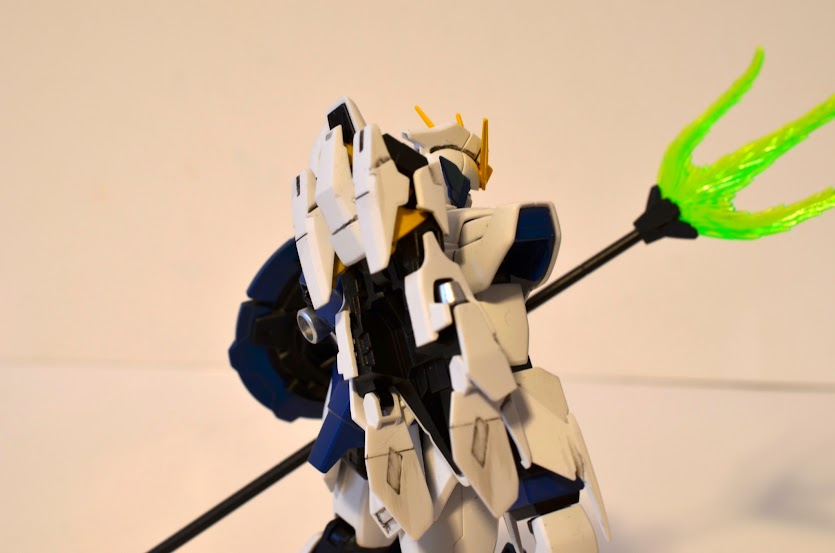
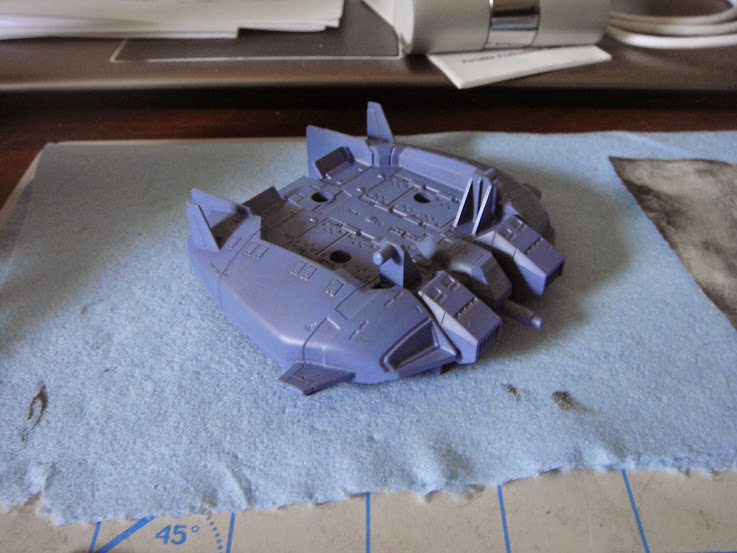
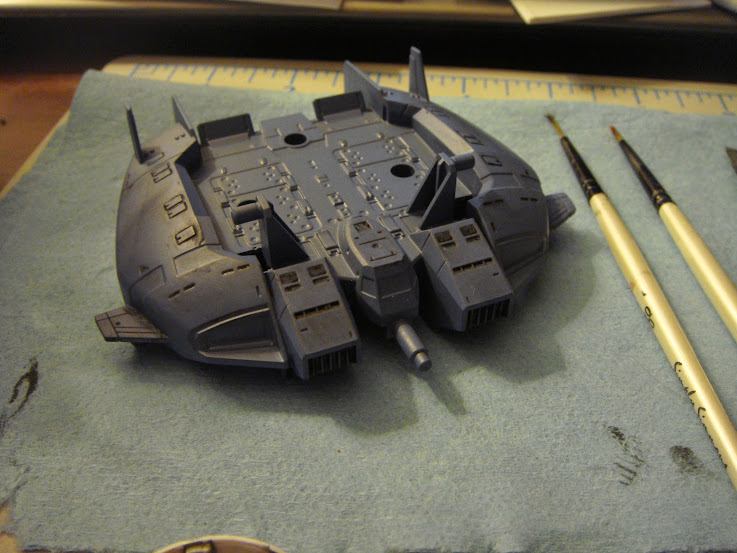
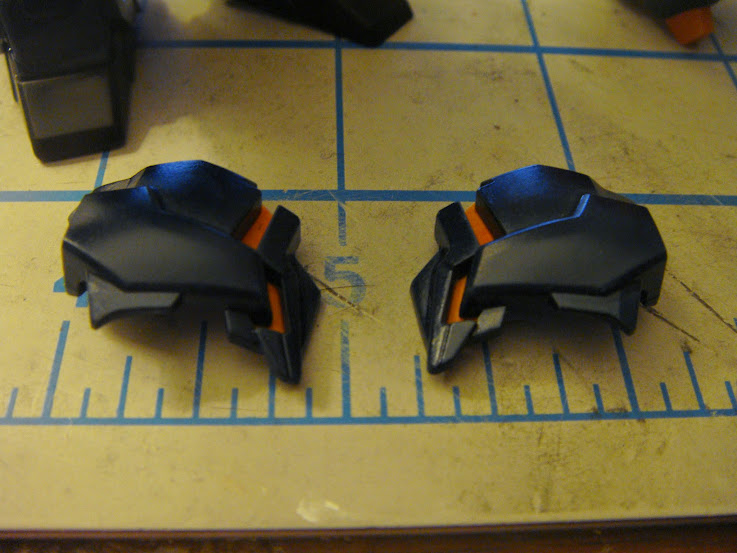
This really came along as part of the SD Delta Plus package as a place to store it's spare parts. It was moulded in the same colour as the Delta and it comes to a total of exactly one part, but never-mind that its a pretty cool little extra.
I have my SD Base Jabber pretty much done it was just a panel wash over the periwinkle blue really.
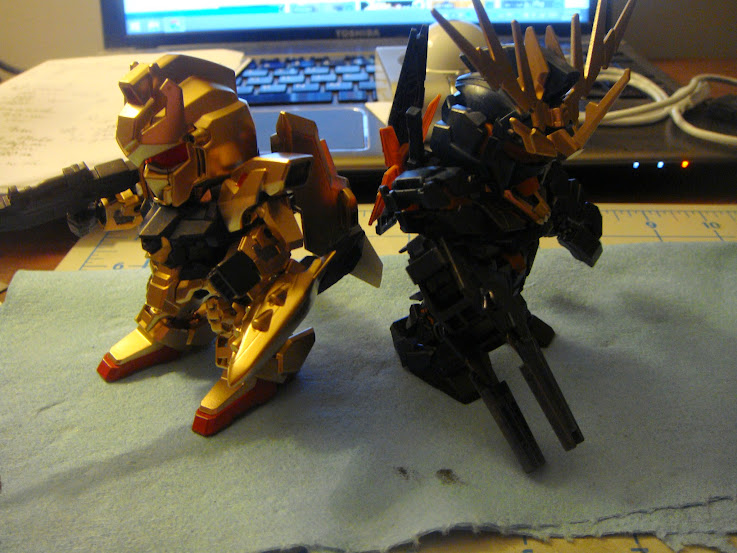
I'm thinking I'd like to do a very, very simple display base for the 3 SDs together.
Friday, 8 May 2015
Sunday, 3 May 2015
Codename: MG Not-Nu WIP #10
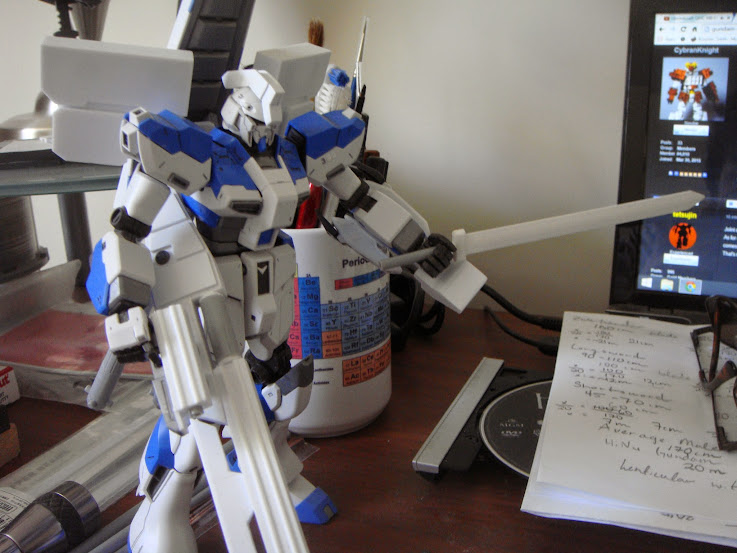
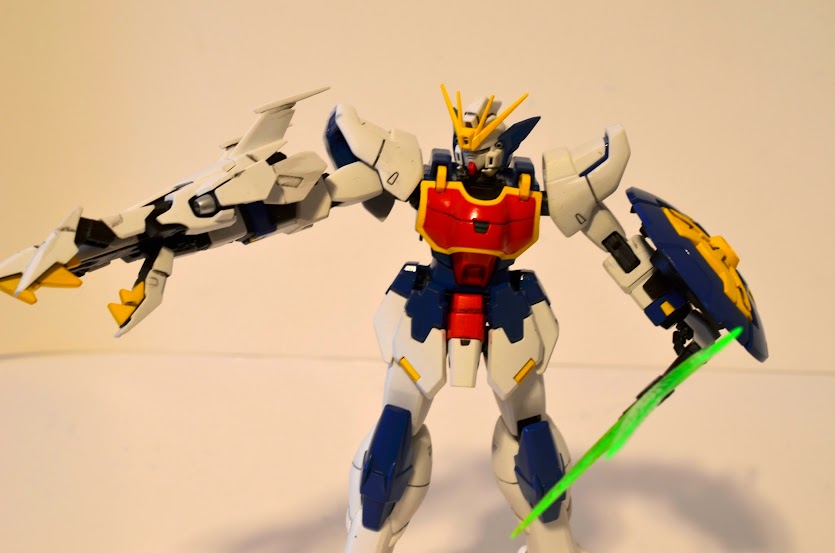
I actually got this idea from CybranKnight, I had been having a lot of trouble getting a nice even symmetrical blade and then duplicating that any number of times for a heat blade that is on and off.
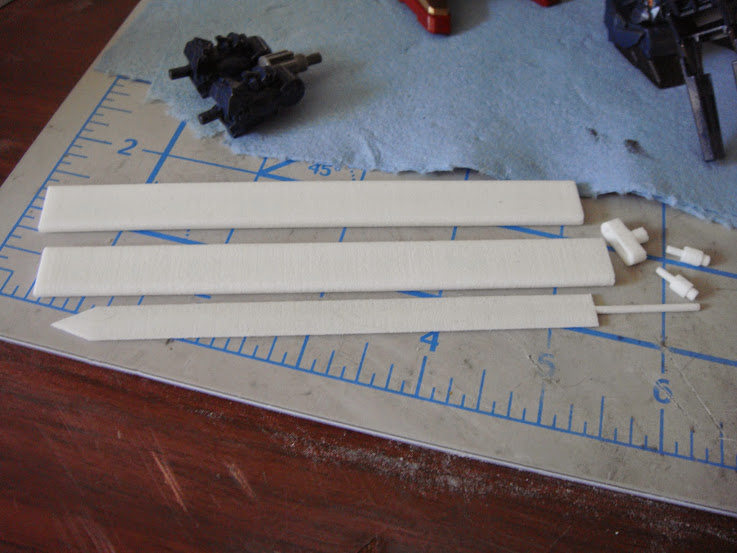
Shapeways seems to have been a pretty good solution to my dilemma, overall it was a bit rough but sanding and putty will take care of that nicely. As the first product I've had printed from them I tried to keep it all very simple and print something like a blank that I can add detail to as I see fit.
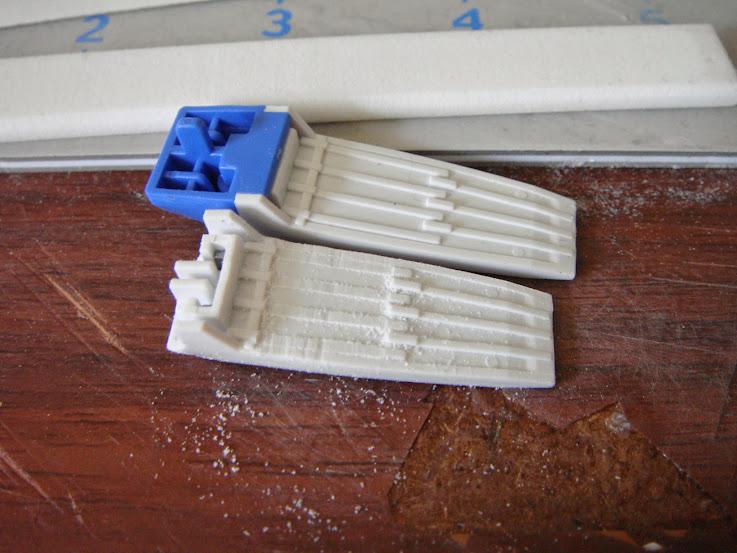
I've learned a few things about what can and cannot be printed by Shapeways. Their tolerances lean towards thicker parts, which I underestimated, next time I'll aim for much wider tolerances. This model specifically had some loose shell parts that didn't get printed (I've already gone and fixed the problem).
I like this first attempt quite a lot, but I think I can improve on it quite a lot. Overall I enjoyed the process of modelling parts for my Gunpla so I think I'll try more of it in the future.
For now I've got two other Sword models up on Shapeways I'm keen to try out as well.
Shapeways seems to have been a pretty good solution to my dilemma, overall it was a bit rough but sanding and putty will take care of that nicely. As the first product I've had printed from them I tried to keep it all very simple and print something like a blank that I can add detail to as I see fit.
I've learned a few things about what can and cannot be printed by Shapeways. Their tolerances lean towards thicker parts, which I underestimated, next time I'll aim for much wider tolerances. This model specifically had some loose shell parts that didn't get printed (I've already gone and fixed the problem).
I like this first attempt quite a lot, but I think I can improve on it quite a lot. Overall I enjoyed the process of modelling parts for my Gunpla so I think I'll try more of it in the future.
For now I've got two other Sword models up on Shapeways I'm keen to try out as well.
Saturday, 2 May 2015
SD Delta Plus WIP #2
It was indeed very quick to go about painting, but the weather was not the least bit cooperative. There were a lot of cold, windy, damp and rainy days between this post and the last and only just today and yesterday has the weather been any good.
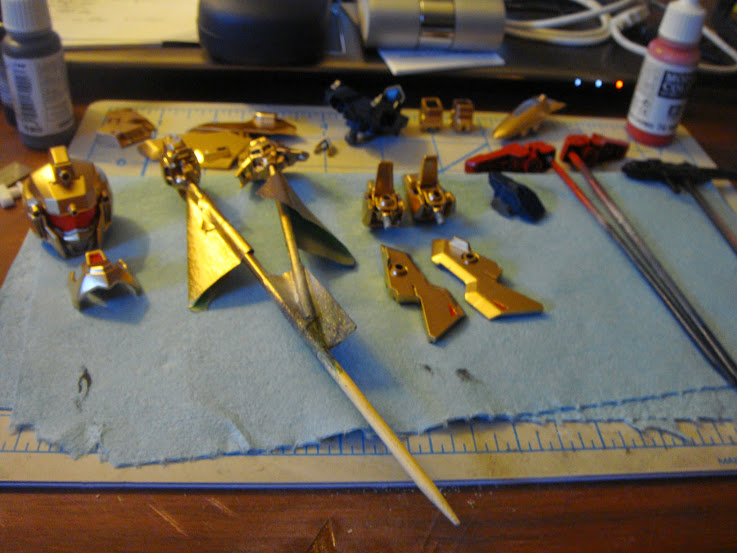
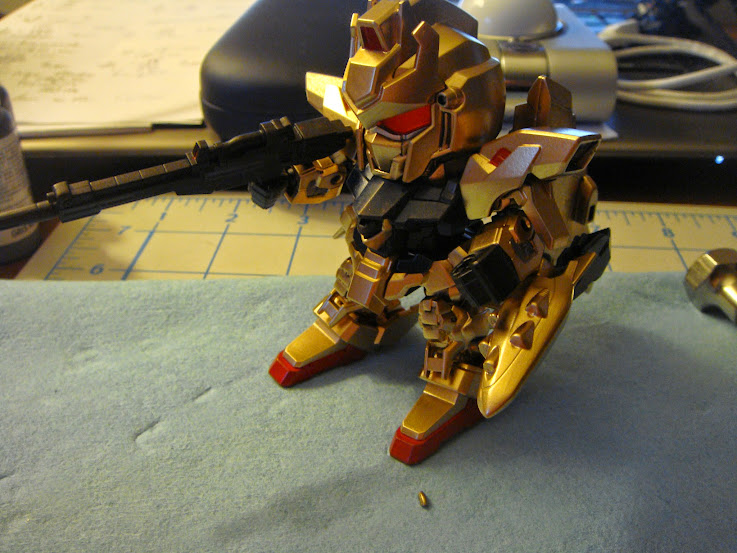
For SD Delta Plus I thought I would use the same basic colour palette as the SD Banshee and that lead me straight to a Delta Gundam colour scheme. Additionally I did a slight bit of detailing with grey and red paints and a black wash that really doesn't show up at all.
Parts
Assembled
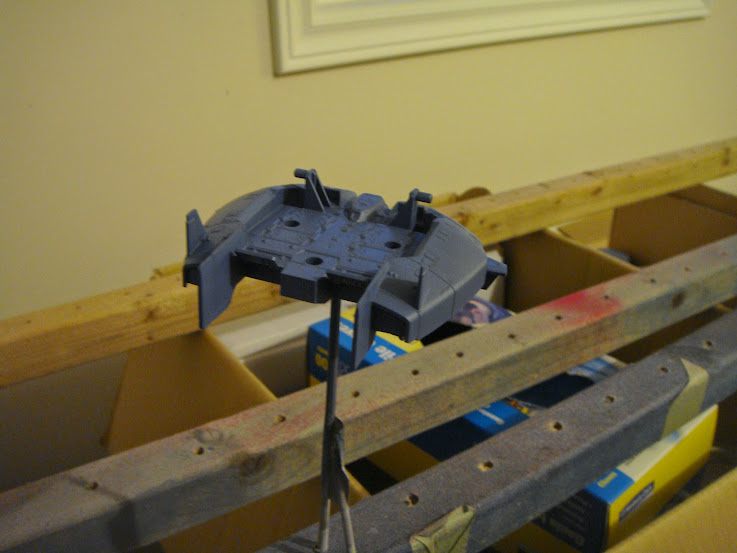
I also painted the SD Base Jabber in a Periwinkle Blue, which I rather like the effect of, I'm hoping to get it all detailed and washed in the next couple of days.
Base Jabber
For SD Delta Plus I thought I would use the same basic colour palette as the SD Banshee and that lead me straight to a Delta Gundam colour scheme. Additionally I did a slight bit of detailing with grey and red paints and a black wash that really doesn't show up at all.
Parts
Assembled
I also painted the SD Base Jabber in a Periwinkle Blue, which I rather like the effect of, I'm hoping to get it all detailed and washed in the next couple of days.
Base Jabber
Saturday, 18 April 2015
SD Delta Plus WIP #1
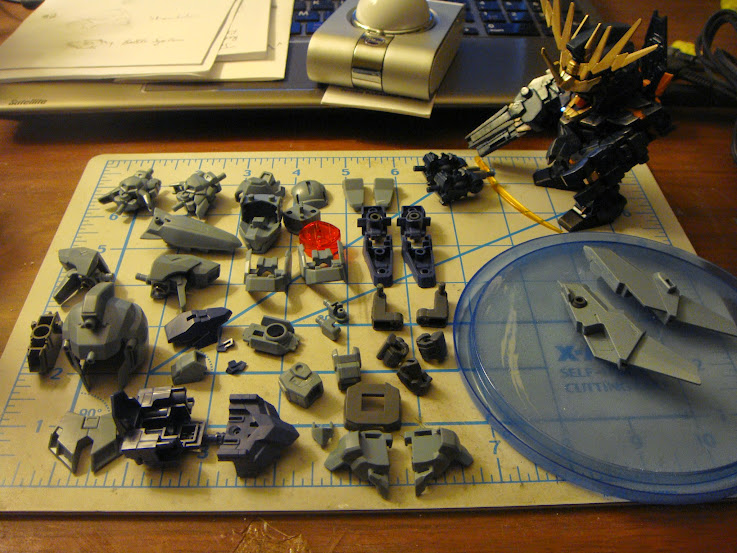
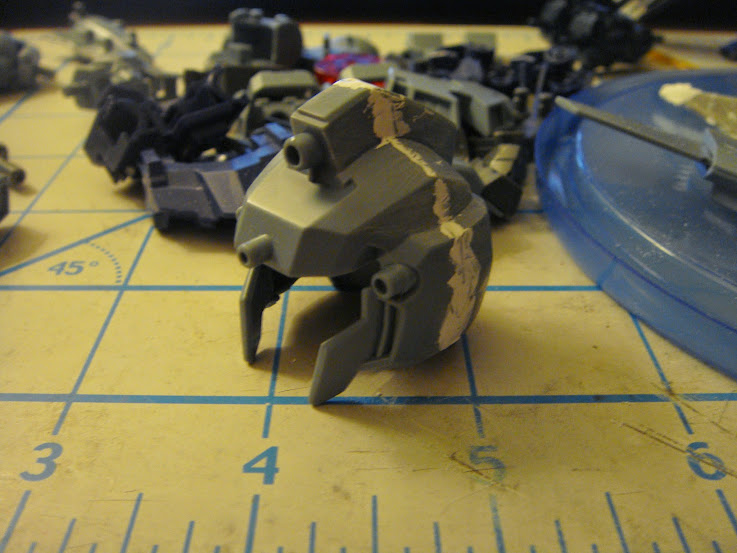
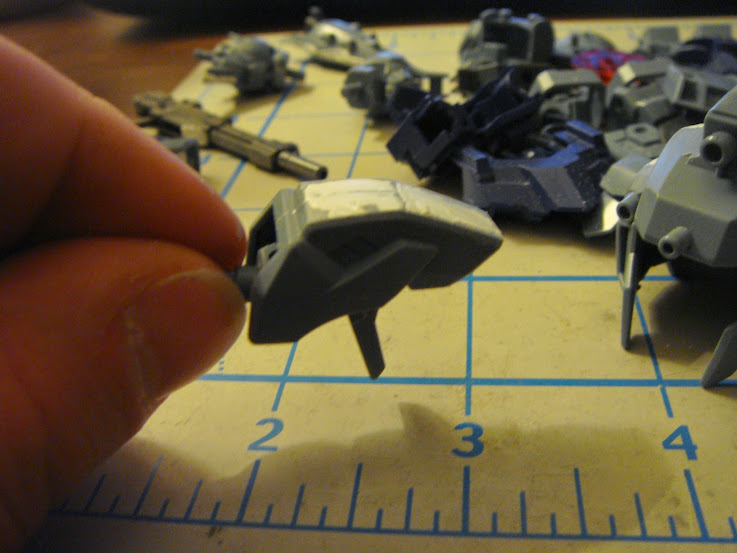
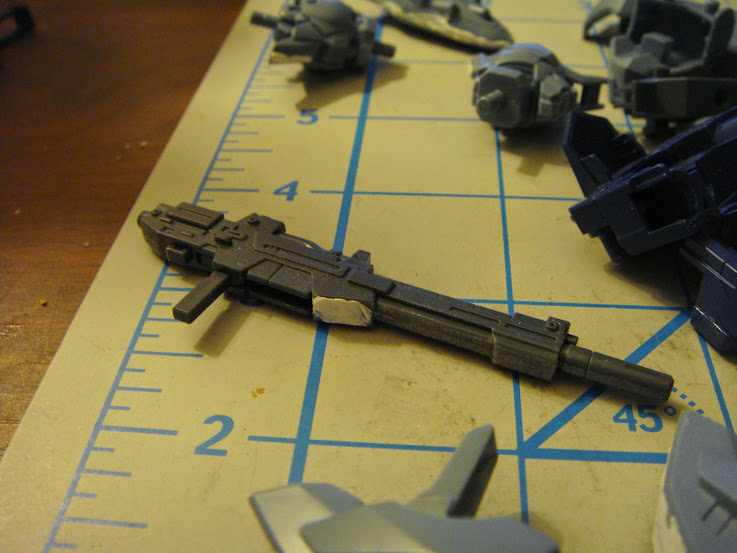
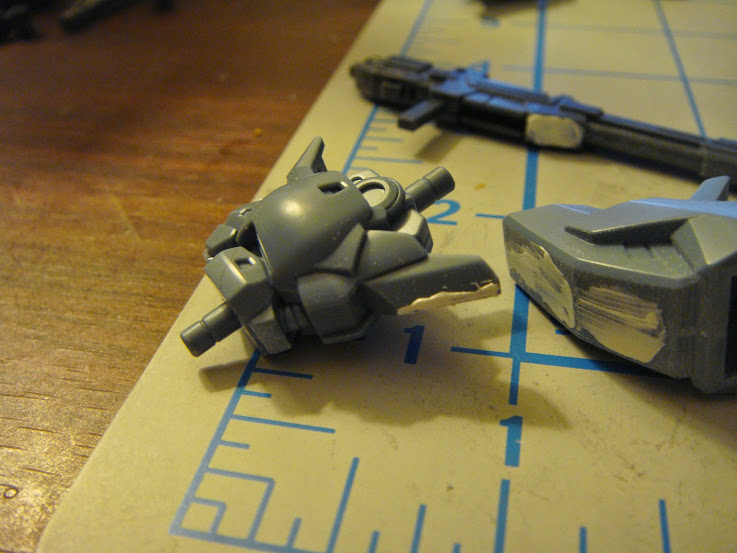
Getting some of the prep work done, so far I have disassembled, sealed some of the seam lines and puttied a few minor gaps. Based on the part count with things glued this shouldn't take very long to paint.
Prep Work
Prep Work
Wednesday, 15 April 2015
SD Banshee WIP #2
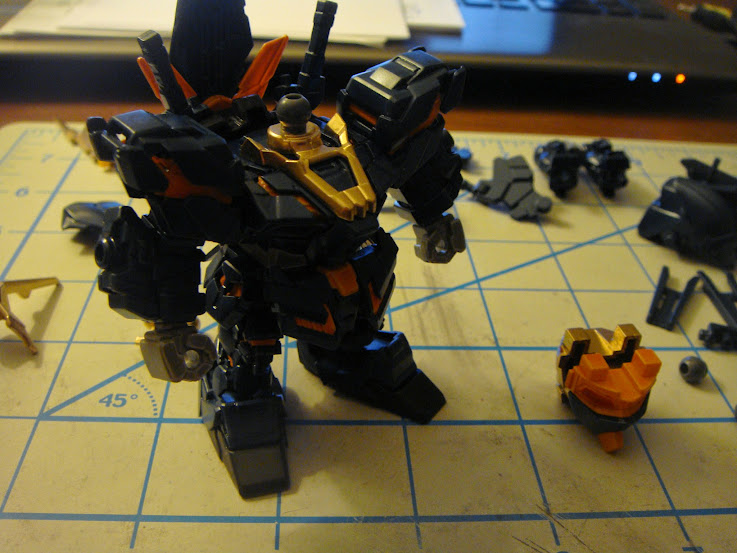
It is pretty much done now, I've got all the details I wanted to paint filled in, and a bit of weathering done, nothing really major. I did have to super glue the shield into destroy mode because it cracked a bit after paint, but that's no big deal I don't intend to display it out of destroy mode ever.
I'm hoping to take a few better picture of this guy in the next couple of days and get to work on my SD Delta Plus as well.
Monday, 13 April 2015
SD Banshee WIP #1
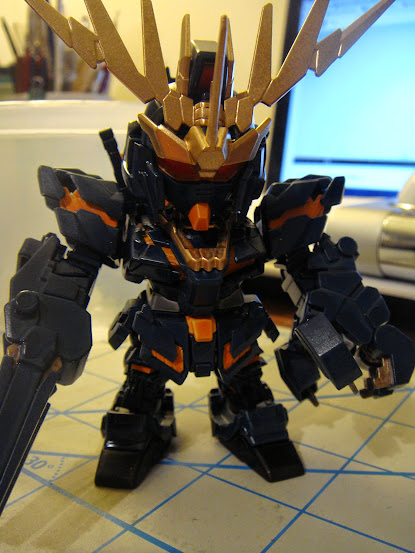
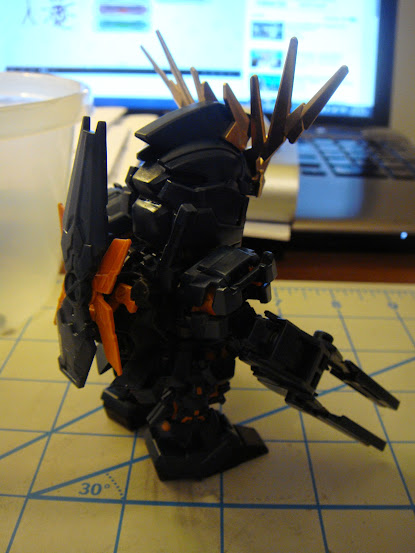
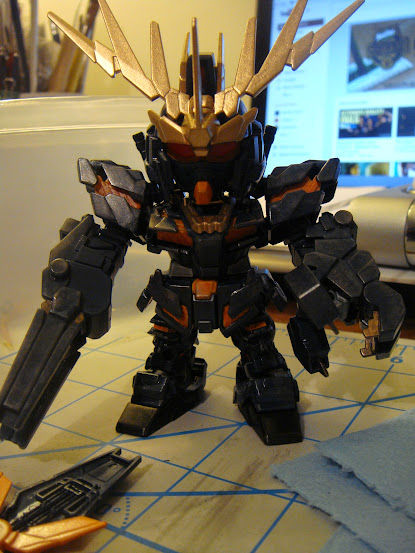
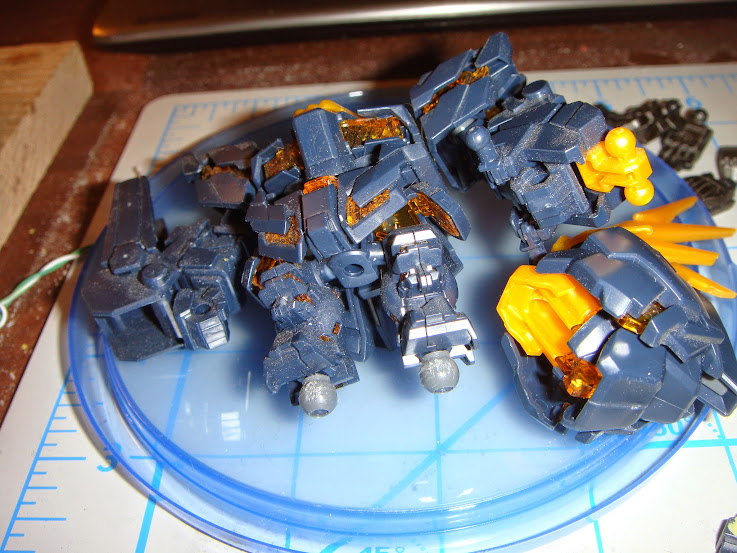
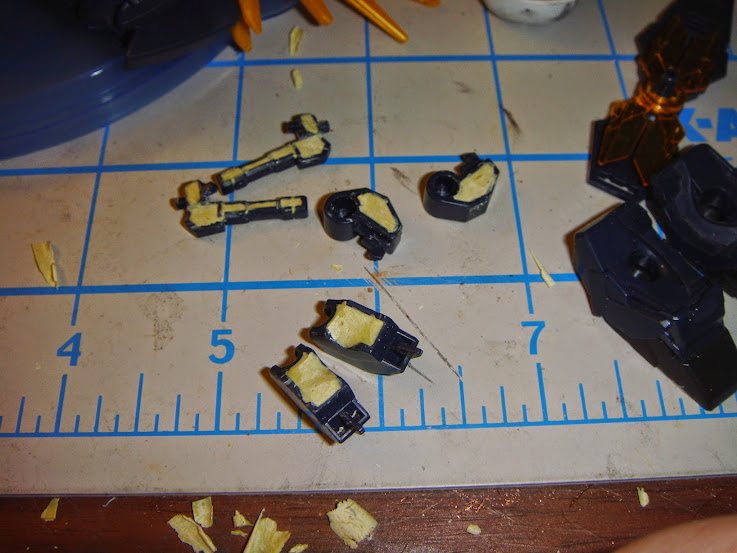
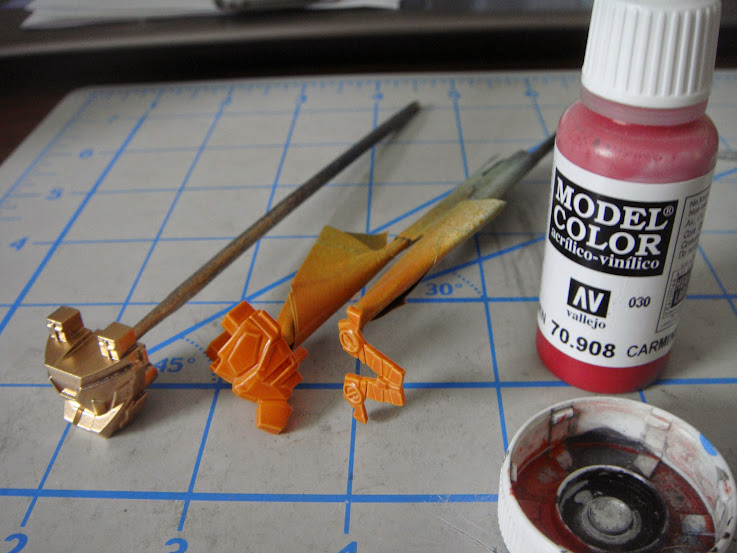
Been working on SD Banshee for a couple of days. Just doing a very basic Banshee colour scheme and very light alterations to fill a few of those SD gaps.
Alterations
Red Eyes
All Painted
Beyond this I've got a little bit more detailing to do on a few bits here and there, possibly a bit of weathering around the claw a bit of soot around the exposed psycho frame bits (I plan to display it only in destroy mode).
Alterations
Red Eyes
All Painted
Beyond this I've got a little bit more detailing to do on a few bits here and there, possibly a bit of weathering around the claw a bit of soot around the exposed psycho frame bits (I plan to display it only in destroy mode).
Thursday, 2 April 2015
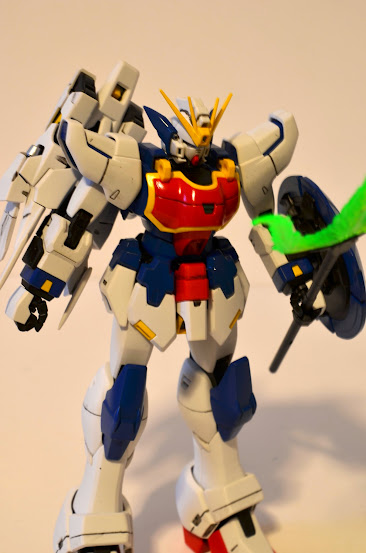
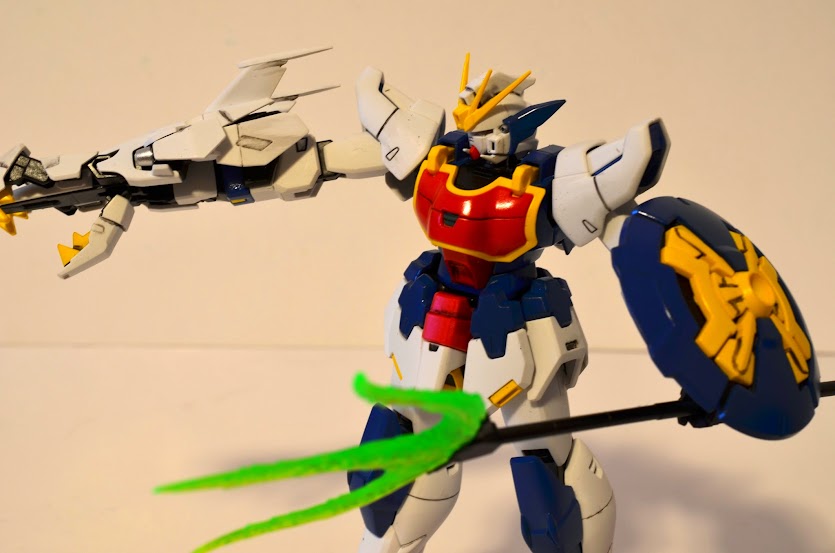
Completed Kits #11: MG Shenlong Ver. EW
Just got this finished in the last couple of days. I finally got some decent weather for painting in and I'm hoping for something similar for the long weekend too.
In typical fashion for me, I have painted the kit principally with Krylon spray cans. Oddly this is actually the very first time that I have ever painted a Gundam in the proper Tri-colours of RX-78-2.
The colour scheme is quite stock, with two very small alterations which were inspired by the green knees and ears of Fenice from Build Fighters. I somehow kept it clean which is altogether baffling.
You can see more of this kit in it's Google+ Album or in the Facebook Gallery.
In typical fashion for me, I have painted the kit principally with Krylon spray cans. Oddly this is actually the very first time that I have ever painted a Gundam in the proper Tri-colours of RX-78-2.
The colour scheme is quite stock, with two very small alterations which were inspired by the green knees and ears of Fenice from Build Fighters. I somehow kept it clean which is altogether baffling.
You can see more of this kit in it's Google+ Album or in the Facebook Gallery.
Subscribe to:
Posts (Atom)