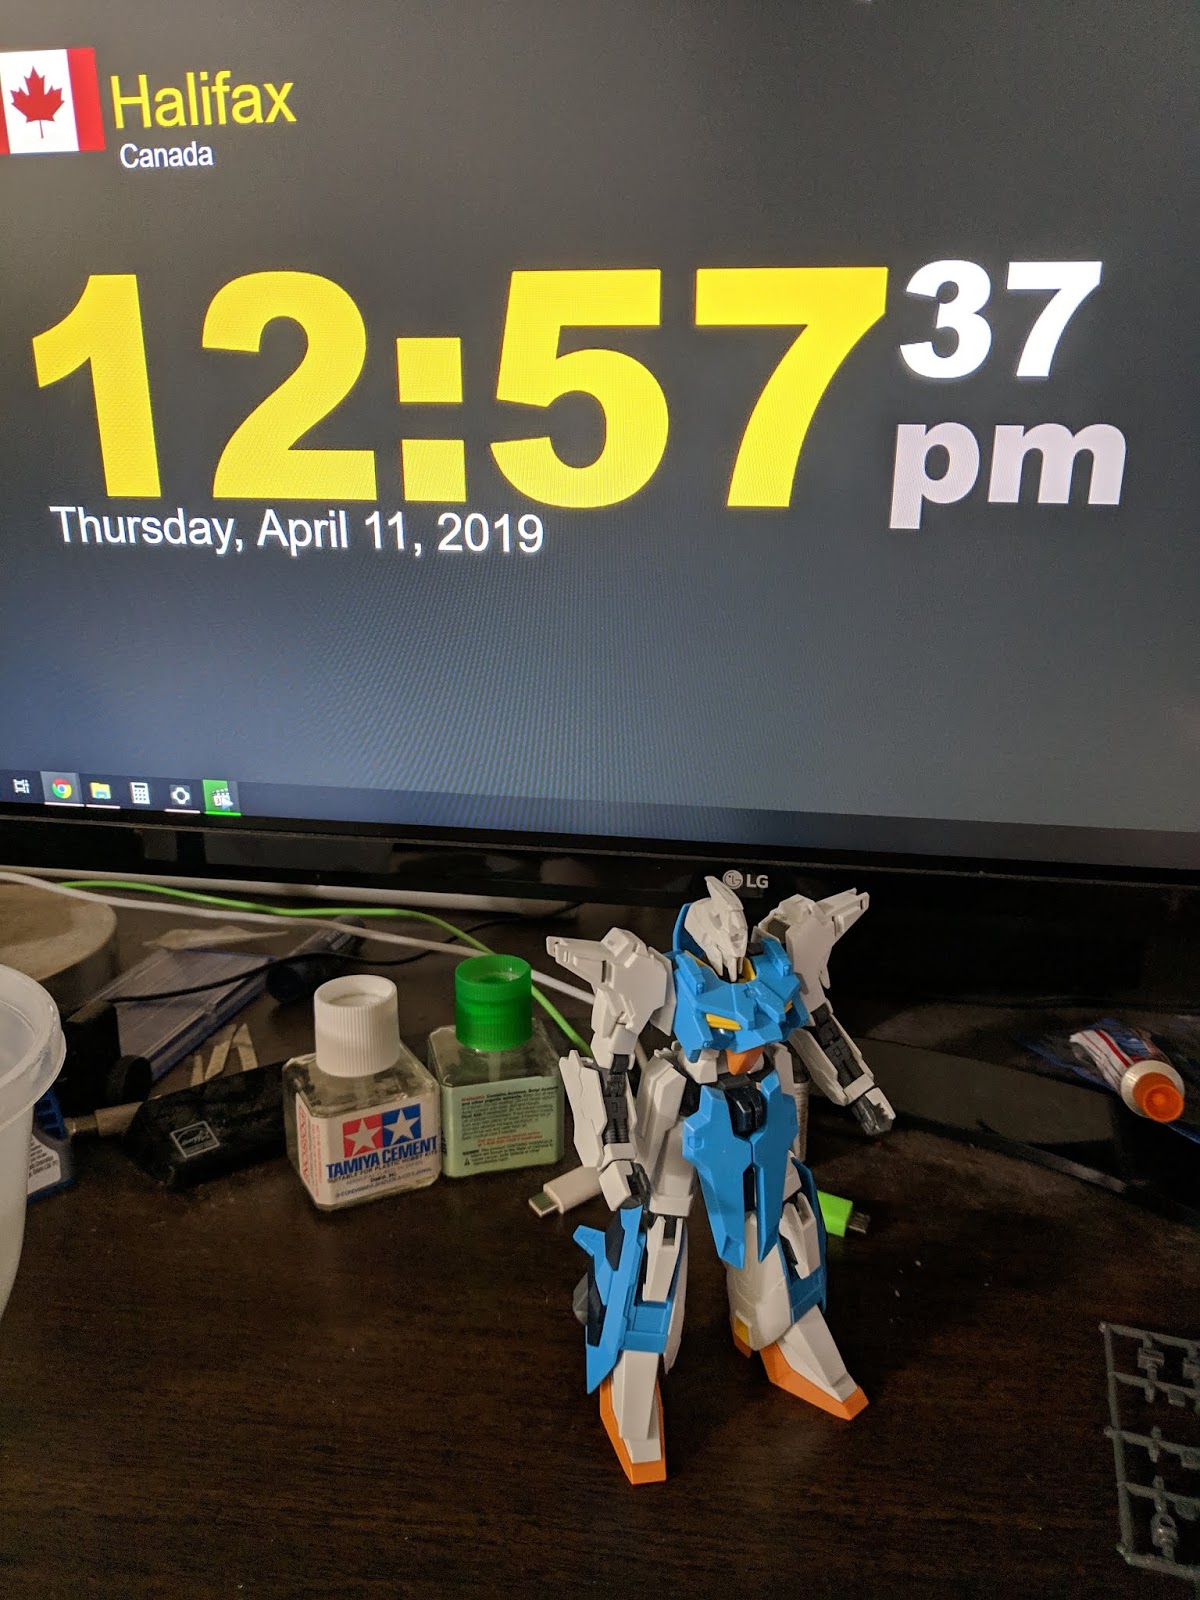
So, around a month ago, I built this a 40 hour build to
celebrate 40 years of Gundam. It has taken far too long to take photo, its been
a chaotic month. Anyway, here is my Amazing Zeta 40/40.
Friday, 17 May 2019
Completed Kits #28: HGBF Amazing Zeta 40/40
Thursday, 2 May 2019
HG Graze Ritter Sniper Custom WIP
A friend gave me this kit, I did a little bit of tweaking using the parts that came with it. I used all four of the backpack thruster parts that are intended for the normal graze pace type. Then I've modified the shoulders from the Ritter parts, I've shortened them a lot. I then cut the barrel of the rifle and replaced it with a barrel twice the length and scratched a scope to go with. I cut a hole in the sword and inserted a laptop HDD screw. Magnets under both side skirts then a bit of brass rod on the left side skirt to hold the sword in just the right place.
For paint I've used
For paint I've used
-Vallejo Surface Primer Gray
-Vallejo Model Air German Gray
-Vallejo Model Air Light Gray
-A mix of Vallejo Model Air Red RLM23 and Vallejo Model Air Off White for the sensors
-Vallejo Model Air Metallic Signal Red
-Vallejo Metal Color Jet Exhaust for frame parts
-Vallejo Metal Color Dull Aluminum
-Vallejo Polyurethane Matt VarnishFriday, 12 April 2019
HG Amazing Zeta 40/40 WIP
So, let me preface this as a stupid idea that I had on Twitter this week. This morning at 6 AM (Atlantic time) I started working on a 40 hour speed build snapped to painted, weathered and matte coated to celebrate 40 years of Gundam. Decided on the 6 AM bit in an effort to give me the best amount of time with my compressor not ruining life for my neighbours.
Anyway I'm working on a HG Amazing Zeta on my 40 for 40, my plan as it is right now is to skip the transformation stuff and go for a fixed pose something along the lines of a Zeta-Cannon. So far it has come together really nicely and the colour separation on this kit is brilliant.
The Schedule:
-I completed the torso at 7:14.
-Completed head shoulder and arms and started removing the seams in the shoulders and head by 8:59.
-Legs, waist were done and the seams in the shoulder and head were polished out by 12:59.
-Weapons and backpack were snapped and I had started to remove the seams in the rifles by 3:00 PM.
-Then I spent a good 5 hours knocking out the ugly peg holes in the backpack that won't be used and their associated kibble, and that gets me to 14 hours in.
-Day 2 was pretty much all about paint
-Base coat and panel line wash was done by 5:00 PM.
-Completed final assembly and matte coat by 6:29 PM.
-In the process of touch ups until time runs out at 10:00 PM.
At this point I'm very pleased with how this turned out from beginning to end, and my modifications on this one were pretty minor so I would have plenty of time and I kept the colour selection pretty basic to match.
Speaking of for this kit I used:
-Vallejo Surface Primer Gray
-Vallejo Model Color Sky Blue
-Vallejo Model Air Camouflage Gray
-Vallejo Model Air Light Gray
-Vallejo Model Air Red RLM23
-Vallejo Model Air Metallic Signal Red
-Vallejo Metal Color Jet Exhaust
-Vallejo Metal Color Dull Aluminum
-Vallejo Polyurethane Matt Varnish
Anyway I'm working on a HG Amazing Zeta on my 40 for 40, my plan as it is right now is to skip the transformation stuff and go for a fixed pose something along the lines of a Zeta-Cannon. So far it has come together really nicely and the colour separation on this kit is brilliant.
The Schedule:
-I completed the torso at 7:14.
-Completed head shoulder and arms and started removing the seams in the shoulders and head by 8:59.
-Legs, waist were done and the seams in the shoulder and head were polished out by 12:59.
-Weapons and backpack were snapped and I had started to remove the seams in the rifles by 3:00 PM.
-Then I spent a good 5 hours knocking out the ugly peg holes in the backpack that won't be used and their associated kibble, and that gets me to 14 hours in.
-Day 2 was pretty much all about paint
-Base coat and panel line wash was done by 5:00 PM.
-Completed final assembly and matte coat by 6:29 PM.
-In the process of touch ups until time runs out at 10:00 PM.
At this point I'm very pleased with how this turned out from beginning to end, and my modifications on this one were pretty minor so I would have plenty of time and I kept the colour selection pretty basic to match.
Speaking of for this kit I used:
-Vallejo Surface Primer Gray
-Vallejo Model Color Sky Blue
-Vallejo Model Air Camouflage Gray
-Vallejo Model Air Light Gray
-Vallejo Model Air Red RLM23
-Vallejo Model Air Metallic Signal Red
-Vallejo Metal Color Jet Exhaust
-Vallejo Metal Color Dull Aluminum
-Vallejo Polyurethane Matt Varnish
Thursday, 21 March 2019
Barbatos Lupus Custom WIP #1
I am getting hopelessly behind on all the things I had intended to have done by this point in the year. Broke my airbrush managed to get it fixed this last week as well as acquire another brush that I can source parts for locally. Kind of lost track on what exactly I wanted to do with the Wildraubtier, I'll get back to it soon but for now its shelved while I work on this.
A Barbatos Lupus and Vidar that I found at a local shop and wanted to build I have a few ideas for both of them. Most of all though I wanted to build a really simple diorama of the two fighting so in this case I'll be working on both with the intention of a single pose.
A few aftermarket thrusters and fuel tanks for the Barabatos. I pinned the thrusters with brass rods for now and after paint I'll glue them down.
A Barbatos Lupus and Vidar that I found at a local shop and wanted to build I have a few ideas for both of them. Most of all though I wanted to build a really simple diorama of the two fighting so in this case I'll be working on both with the intention of a single pose.
A few aftermarket thrusters and fuel tanks for the Barabatos. I pinned the thrusters with brass rods for now and after paint I'll glue them down.
I'll also be removing the howitzer from the right arm and adding a scratch built claw shield over the gun on the left arm. While I haven't quite finished the task I intend to fill in the gaps in the sword-mace.
Subscribe to:
Posts (Atom)